Archive for the 'Ventilation' Category

Ventilator Retrofit

Zehnder ComfoAir 350

Last week our HVAC folks uninstalled our UltimateAir RecoupAerator ERV, and installed our new Zehnder HRV ComfoAir 350.

This is part 2 of our recent ventilator struggles. Read part 1, Problems persist with our UltimateAir ERV.

After the latest issues with our UltimateAir, I contacted Mike Duclos, our energy consultant, and asked his advice in selecting a new ventilator. Since the house was designed to use continuous ventilation at 60 CFM and a boost mode for removing extra moisture from the bathroom and odors from the kitchen, he recommended we give the Zehnder a closer look.

I knew a Zehnder would be expensive, so I asked about alternatives. Unfortunately, other options such as Venmar and RenewAire do not offer continuous ventilation at specific airflow rates. These units would have to cycle on and off to approximate our 60 CFM flow rate. These units would also require different vents to the outdoors that prevent backdraft cold air from entering the house when the unit is off.

The Zehnder can be set to specific air flow rates and run continuously. They also have a unit which is very similar in size and layout, so there’s not a lot of re-ducting required. The pre-heat is integrated inside the unit rather than separate, simplifying the install. We were able to easily convert the 2 circuits for the UltimateAir (one for the pre-heat and one for the ventilator) to one 15 amp 220 volt circuit for the Zehnder.

Zehnder offers both ERV and HRV models. When we were designing the house, we didn’t find any overwhelming rational for picking one type over the other. We went with the ERV because that is what UltimateAir made. We picked UltimateAir because it was energy efficient and being used in many new net zero homes.

But after almost 4 years of ERV use, we decided to try an HRV. We use the ventilator to vent the bathroom and kitchen. Sometimes the ERV was not able to do an adequate job of reducing the moisture in the air. Some humidity in the house is good in the winter, but when I started finding little patches of mold in the corners of the windows, I knew we had too much. Running the ERV in boost for longer periods of time did not seem to help.

Working with the folks at Zehnder was a pleasure. Within a week of asking for a quote, I had a new unit sitting in my basement.

We paid $1,329 in 2011 for the UltimateAir, not counting the preheater, controller, boost switches and installation. Over the next 4 years we paid just north of that in repairs. UltimateAir did offer us $400 toward the cost of the replacement unit. They have also offered to refund 50% of the original price upon return. I think we netted out spending roughly $2,400 without the refund, or 1,700 when the refund arrives.

The Zehnder unit came in at $2,300, plus installation (unknown at time of posting). After everything we’ve been through, it didn’t seem so expensive any more.

I’m quite happy with how easy and quickly they were able to swap out the units, less than 4 hours of work including commissioning.

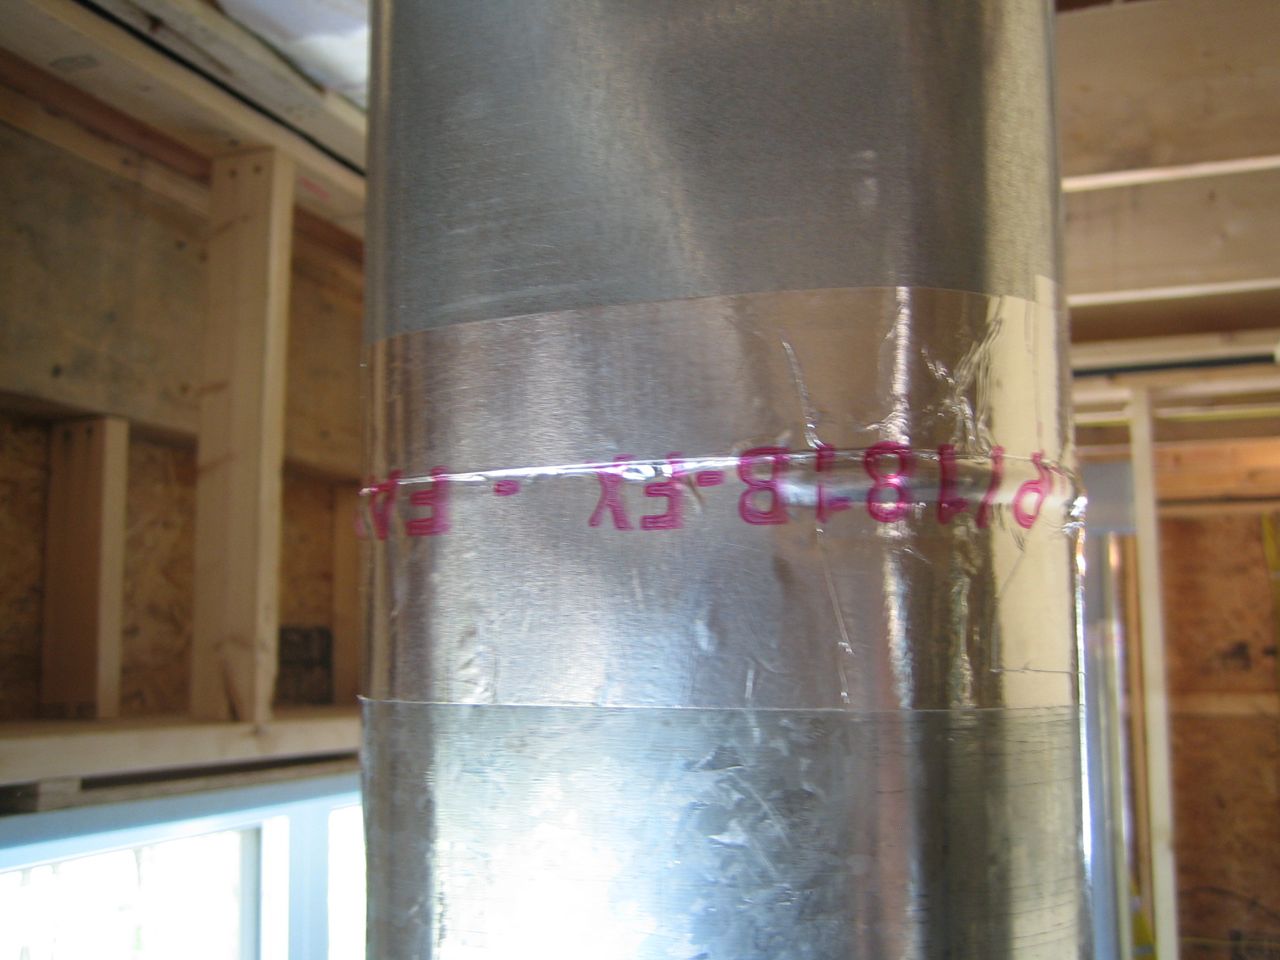
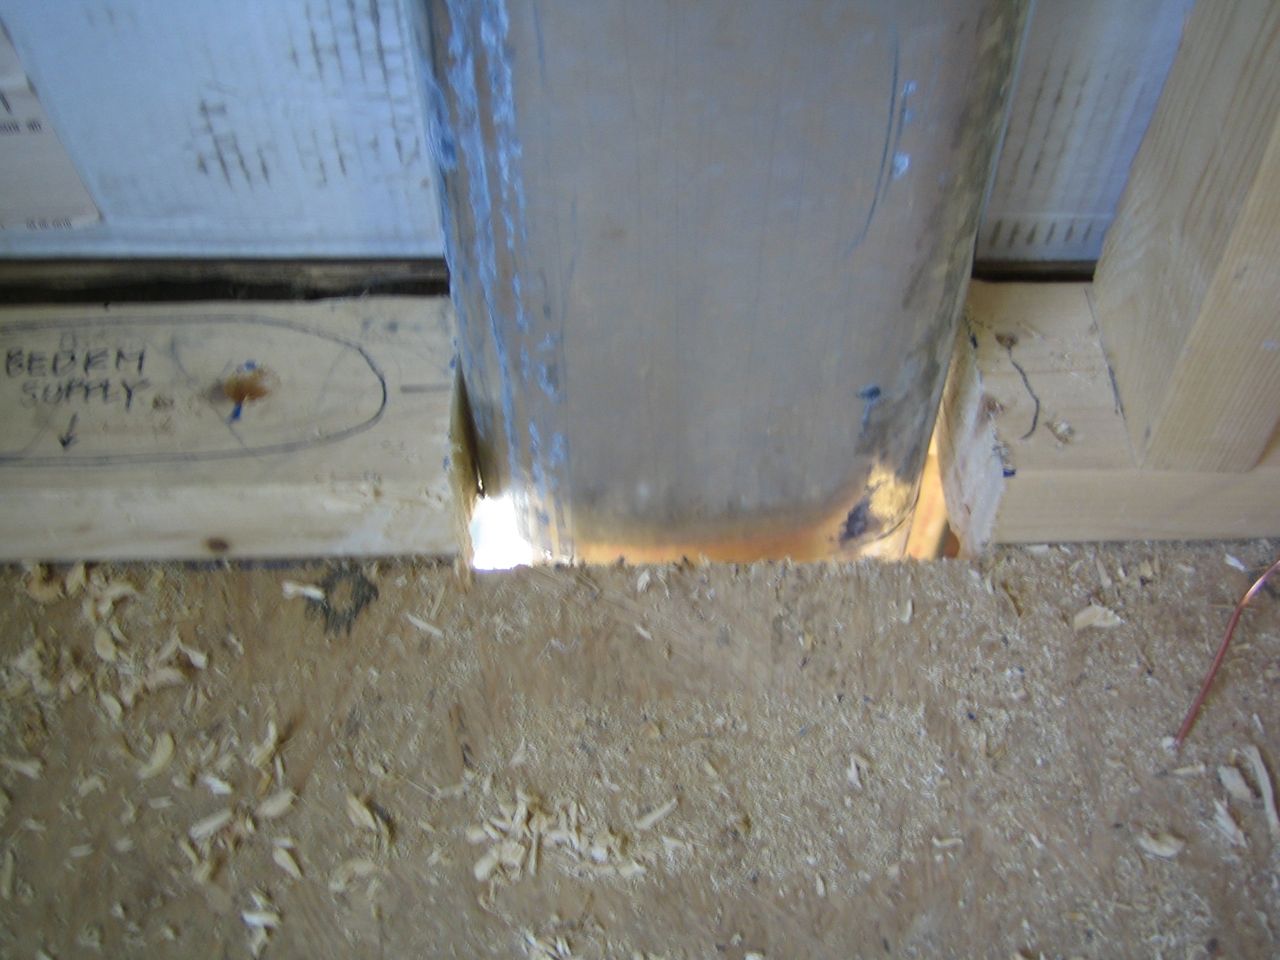
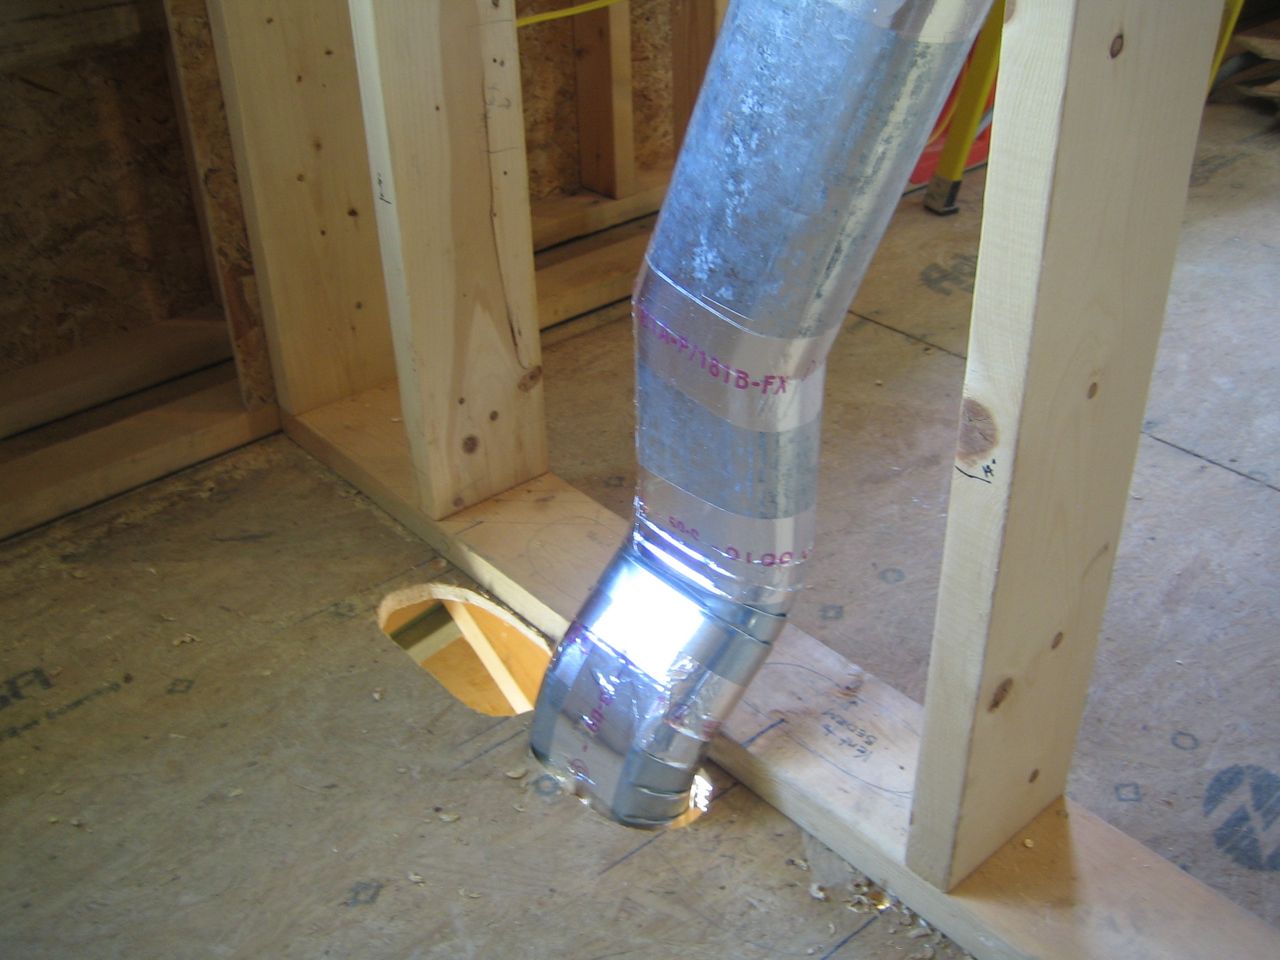
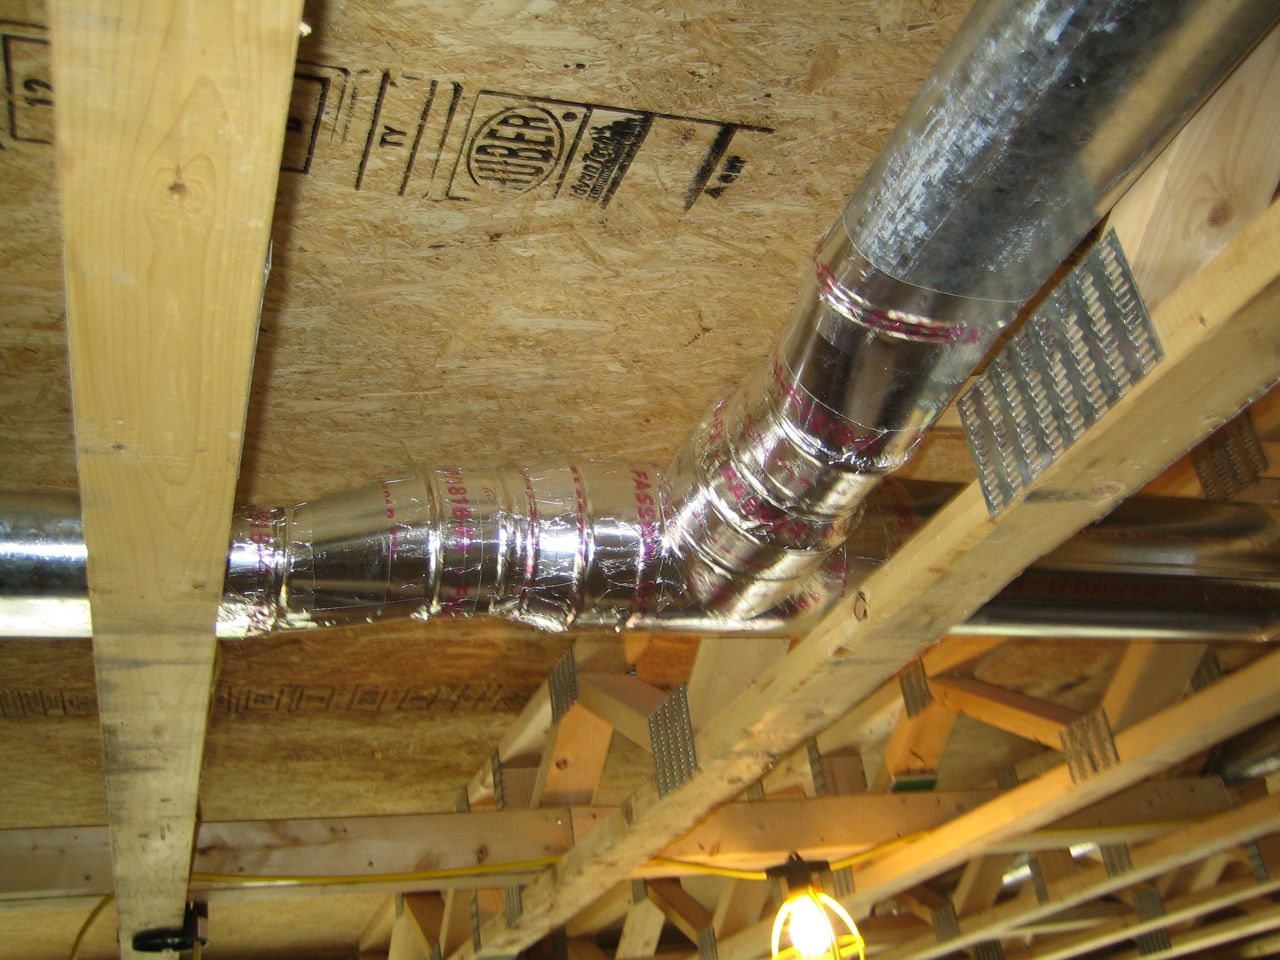
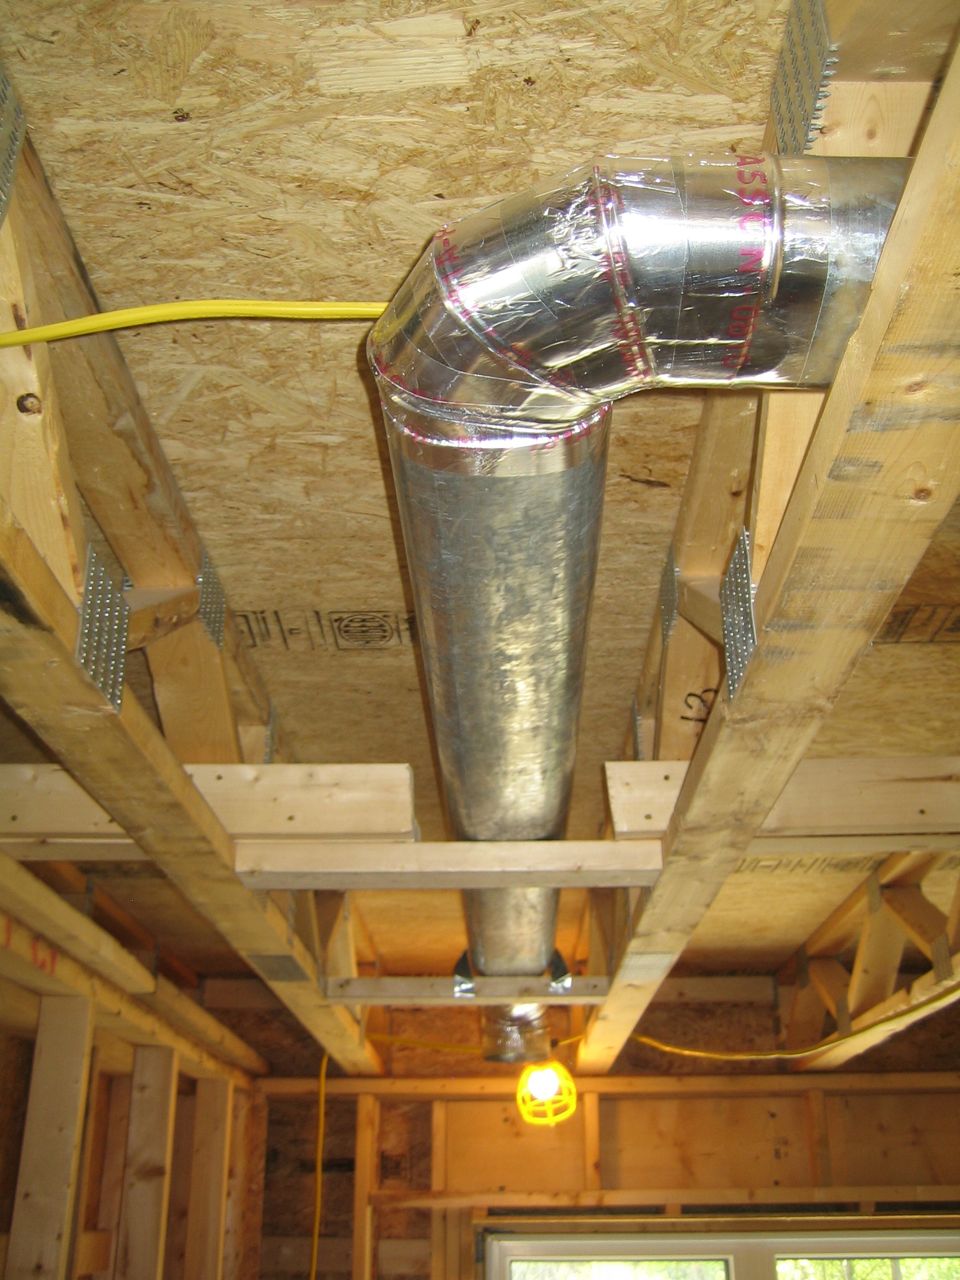
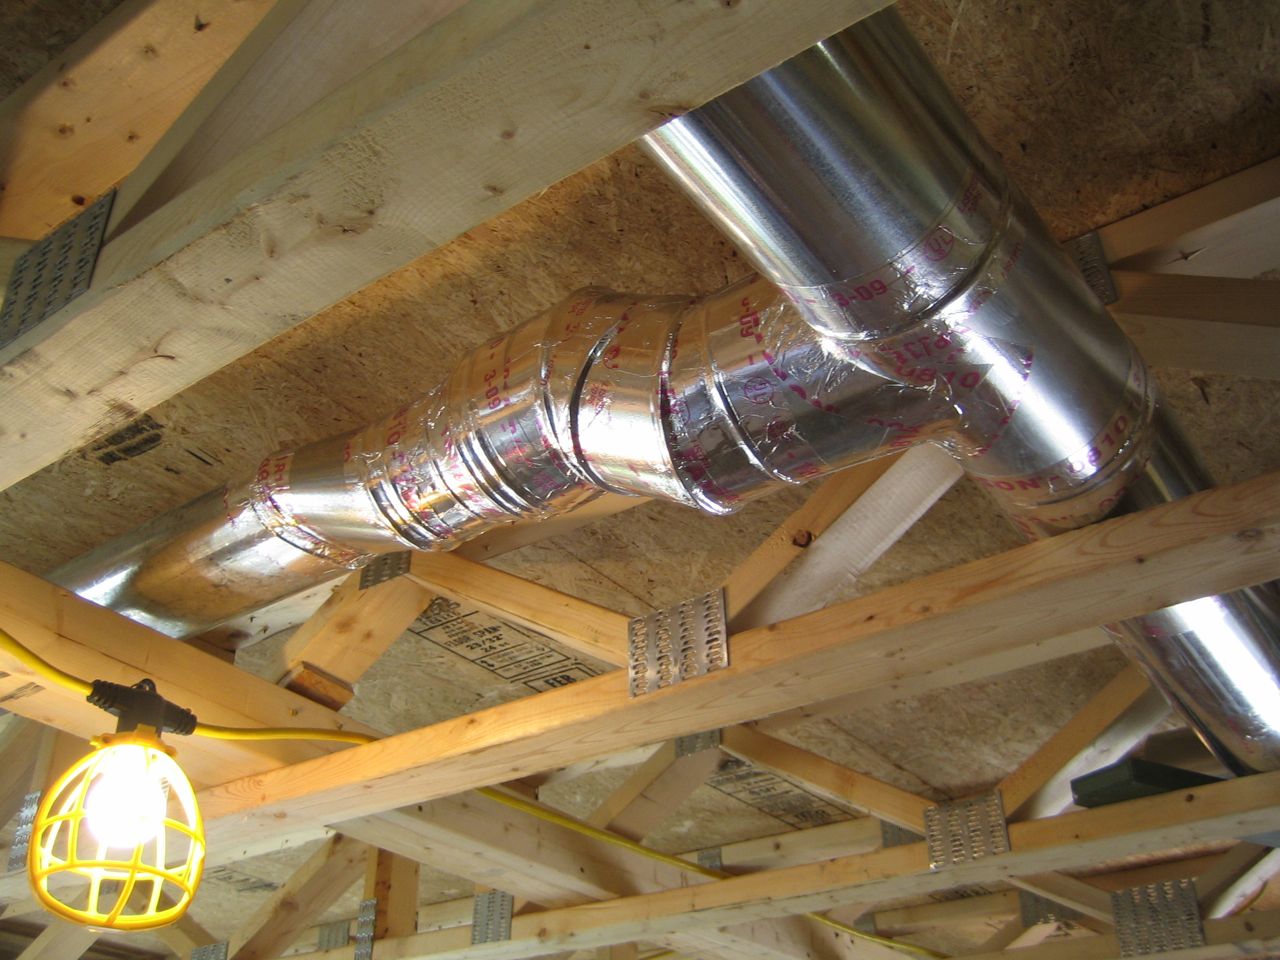
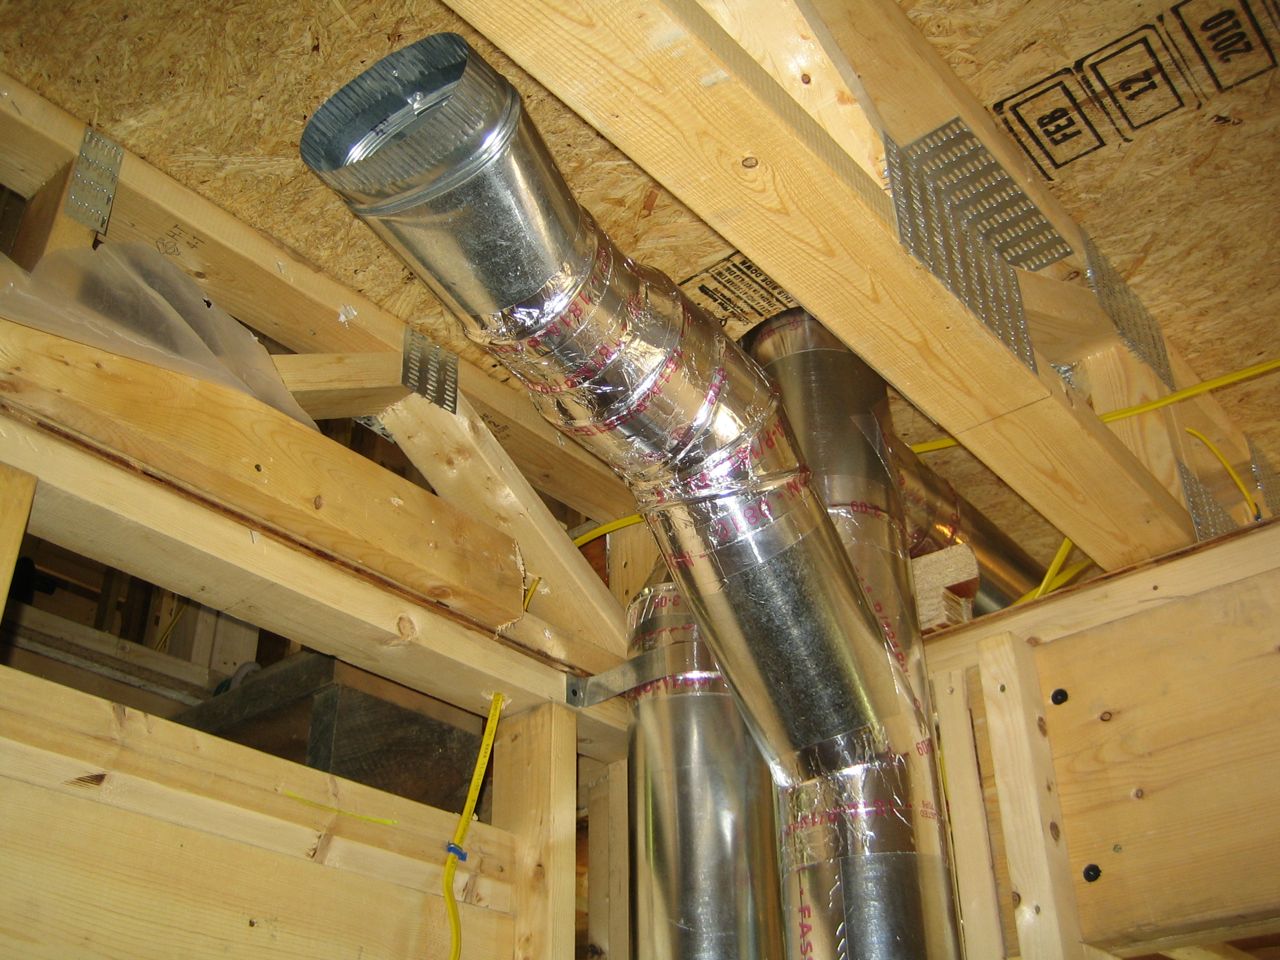
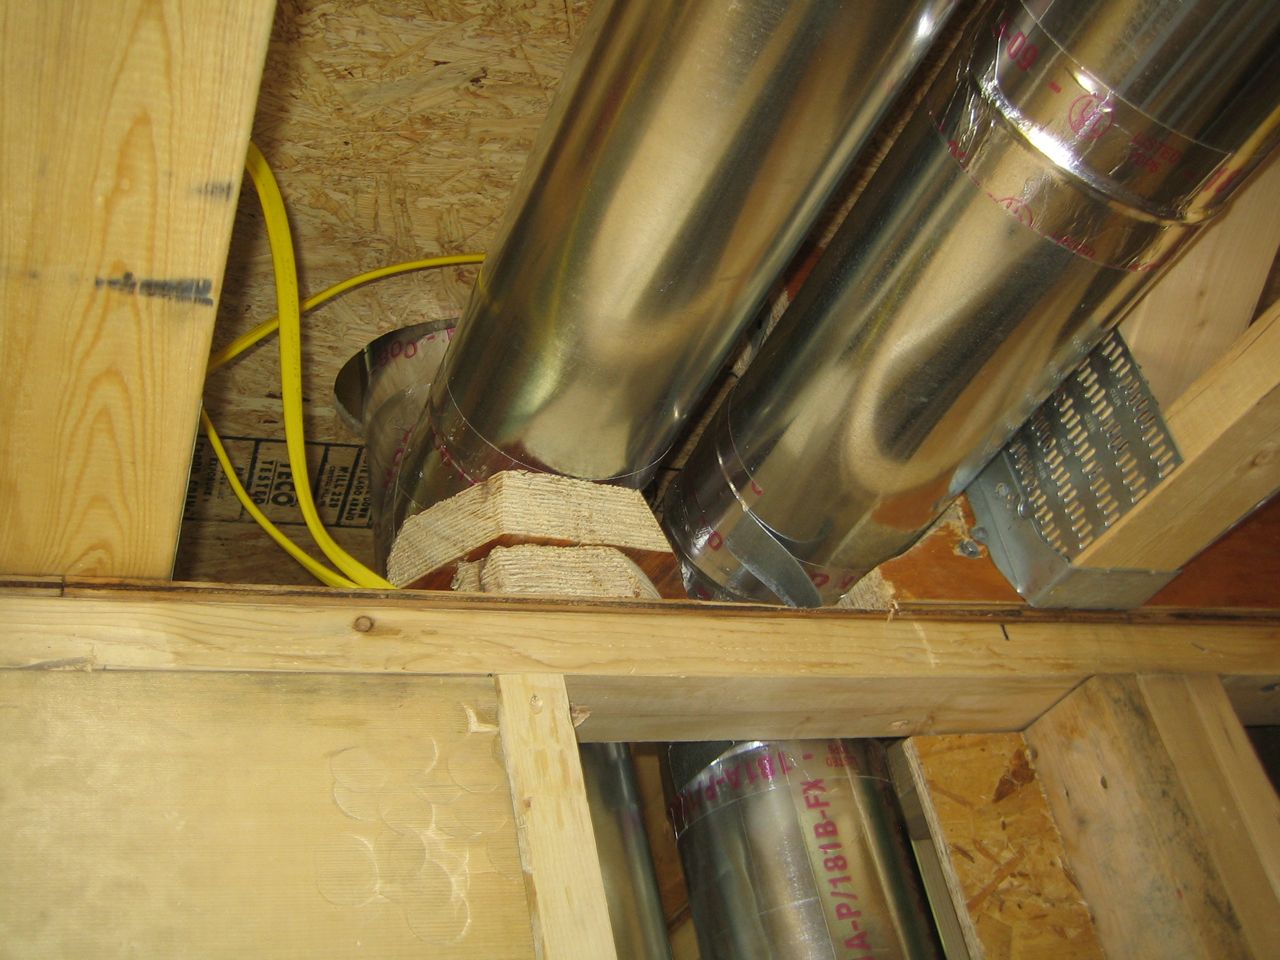
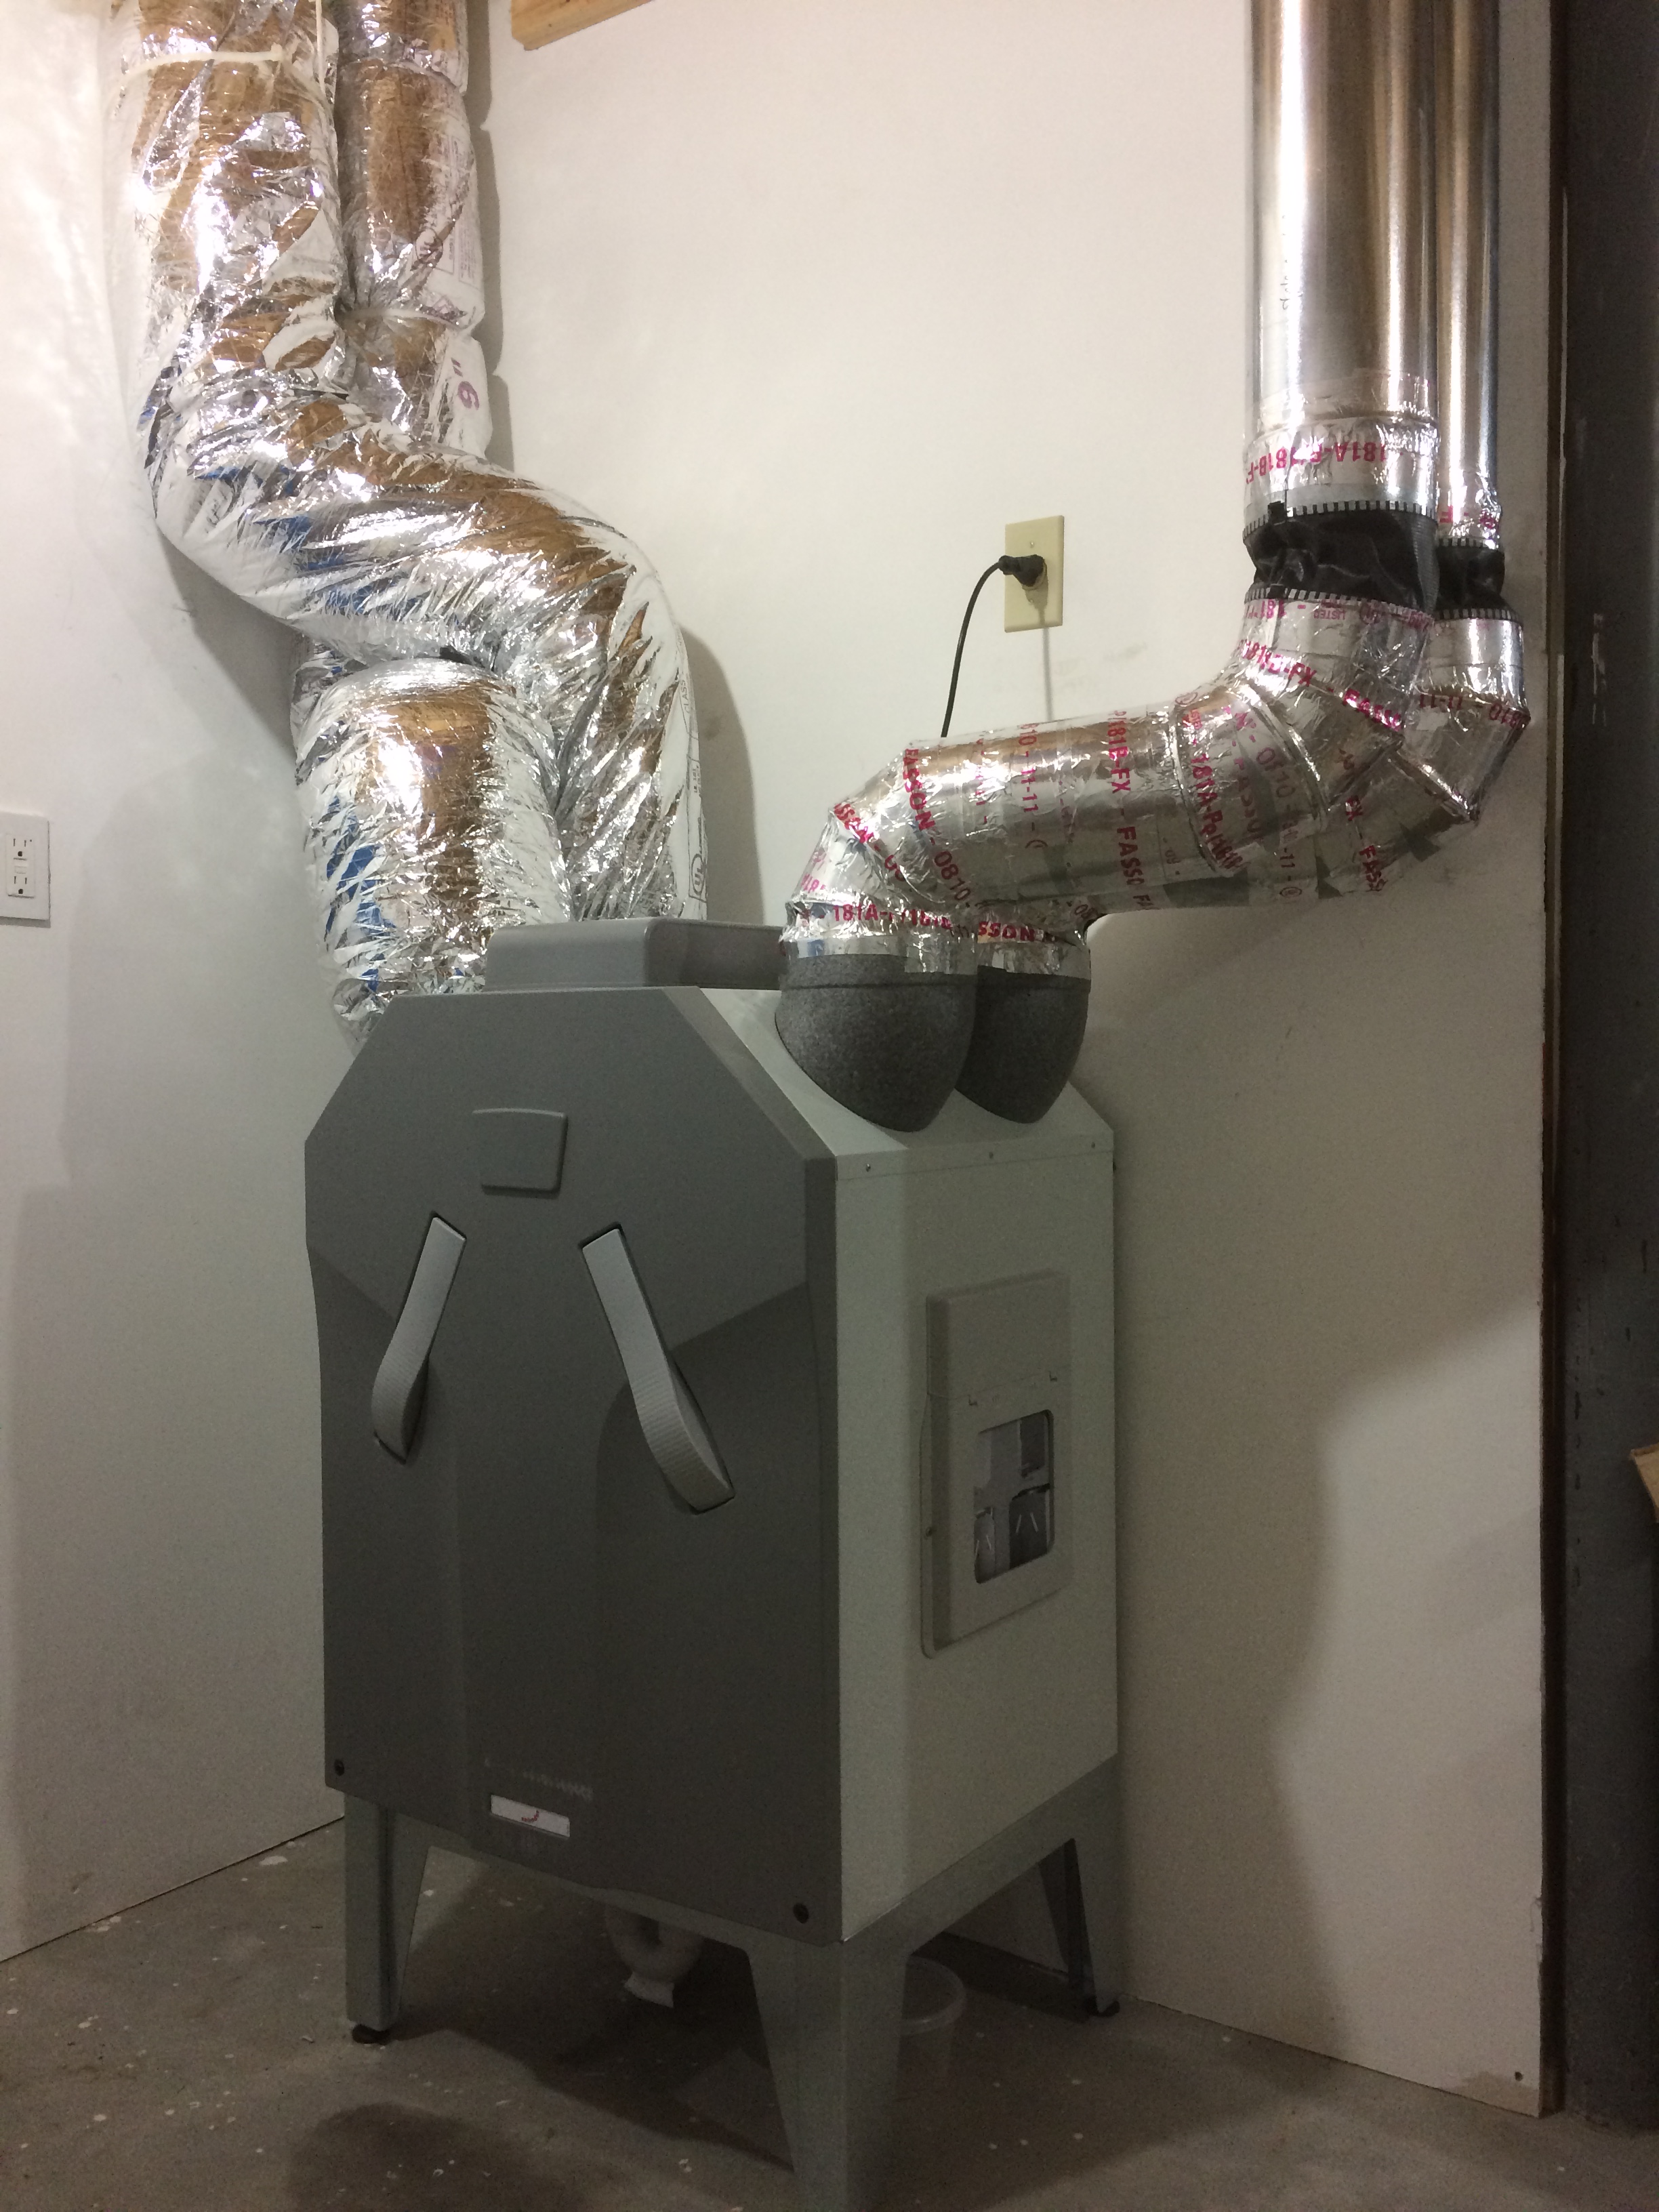
If you notice in the picture at the top of the post, they had to swap the exterior air inlet and exhaust ducts. We also mounted the unit on the floor. They don’t recommend hanging them from the ceiling. Zehnder’s often have a large manifold mounted on top. They also don’t recommend hanging them on a wall that does not have a lot of density to muffle any vibrations. And because the unit is an HRV, it needs to be able to drain condensate, so there is a drain at the bottom. The new 220v outlet can also be seen behind the unit.

New control panel mounting plate

New control panel mounting plate

New control panel

New control panel

We were able to reuse the wiring from the unit to the control panel mounted on the first floor, although the control unit is a different size (not the standard US electrical outlet box size). This wouldn’t have been an issue if this was a fresh install. But since this is a retrofit, I now have to decide what to do with the mismatched control panel. I’m really surprised Zehnder US does not have a retrofit patch kit for this.

Likewise with the two boost switches in the bathroom and kitchen. Same sizing issue, although these switches are thinner and wireless which is totally awesome. No wires needed. And connecting them to the main control was easy.

Commissioning the unit was also a breeze. The UltimateAir required adjusting physical registers on the ventilator which required keen eyesight. The Zehnder is fully controlled from the control panel. The P-menu is a bit awkward, but fairly easy to figure out. I’m guessing in the not too distant future they will have an app for this. Seems silly to have wireless boost switches but I can’t use my phone to commission or make changes on the fly.

We’re using the low fan setting on manual mode for now. This fan speed delivers a continuous air flow rate of 100 meters cubed per hour or about 59 CFM if I’ve done my conversion correctly. At this speed the unit pulls about 23 to 24 watts. In boost mode it uses 102 watts.

Thus far, we’ve been using the new unit for about 11 days. In that time we’ve done a lot of Thanksgiving cooking, and friends have taken many showers. We’re very happy. Mainly it’s peace of mind. I have more confidence that the unit will just work. After all, it is the lungs of our house. You don’t want to worry about whether your lungs are working.

Happy Thanksgiving weekend!

Problems persist with our UltimateAir ERV

I don’t generally like to write negative reviews. I tend to do my research and pick the best technology I can afford.

But sometimes crap happens. It might be an isolated event, like our window snafu, or it might be part of a larger occurrence such as our experience with spray foam. In the former experience, the company provided a full solution at no cost to me, in the later I was just a number in a long line.

In the case of our ventilator, I initially leaned toward thinking this was an isolated event since at the time I hadn’t found any reports online about similar experiences. But now that we are on our second unit and continue to have problems. This tells me that the design or manufacture of the product is defective. I also found someone else that has had similar problems.

A quick recap

Shortly after we moved into the house the ventilator made a terrible noise one morning. I turned it off and rushed down to find that one of the filters had delaminated and jammed the rotating heat exchange wheel. The terrible noise was the belt burning up trying to turn the wheel. UltimateAir provided the replacement parts free of charge, but I had to pay my HVAC servicer $320 to diagnose and replace the parts.

Then several weeks later, the replacement filters also delaminated and again jammed the wheel. Another $200 to replace the belt. All this we wrote about in 2012, our first year in the house.

Then we turned the unit off for the late spring and fall. We open our windows most of this time. Then in the fall when the temperatures dip, we turned the unit back on and heard an intermittent knocking noise, loud enough to keep you up at night. UltimateAir suggested replacing the belt and a small wheel. Another $160 service fee. Knocking noise continued intermittently.

In March 2013 I documented the knocking noise and posted 3 videos on YouTube. At interior vent, inside ventilator – bottom, and inside ventilator – top.

I asked them to diagnose the problem and suggest a remedy. They asked me to uninstall the unit and ship it back for repair. They paid for shipping and repair, but I had to pay my servicer to uninstall and reinstall. Unfortunately when the unit returned it had a few extra moving parts. Items that were attached to the circuit boards were bouncing around inside the unit. UltimateAir blamed shipping. If that is the case, I blame their thin padding in the shipping box. Either way, the unit would not work. I wrote a very unhappy email to UltimateAir.

To their credit, they were very responsive. They responded to my issues very quickly and they covered their replacement costs. But I still had to pay someone to install the parts and unit on my end.

UltimateAir offered to refund the purchase price or replace the unit with a new unit and credit me $400 toward the reinstall. At this point I had spent $1,220 servicing the unit and I was not very happy with their offer.

I contacted my energy consultants to see if they had encountered similar issues and ask them for their advice. They had not encountered similar issues but did suggested I look at other options considering the string of bad luck I was having with the product. Unfortunately the options included buying a new ventilator and retrofitting the connections to work with a new ventilator.

I made another bad decision and decided to go for the replacement unit. I dreaded a retrofit with a different type of unit.

The new replacement unit was installed September 13, 2013. It performed fine for the winter of 2013-14.

When I turned the unit on again in October 2014 the wheel containing the filters would not turn. I pushed it along and was able to get the wheel turning again. Maybe just sitting in the off position for the summer is bad for the unit? The unit appeared to work fine for the rest of the winter of 2014-15.

Problems persist

Then just this month, I turn the unit on again after being off 5 or so months, the wheel once again was frozen. I managed to get it working again and hoped for the best. Except this time it it stopped turning some time later and I can not seem to get it turning again. I think it sticks, and the motor continues to try to turn it, possibly damaging the motor or more likely the belt. I don’t know.

I am not going to make another bad decision and have it repaired. It is time for a new ventilator. Looks like my next post will be about retrofitting our ventilator.

Stay tuned for part 2!

RecoupAerator ventilator issues

After a few months of flawless operation our UltimateAir RecoupAerator ventilation unit started to make a horrible squealing sound after we turned on the boost for a morning shower. I turn it off and grunted. No one likes a new piece of equipment to malfunction this early in their lifecycle.

I easily found the source of the problem after opening the case. One of the filter pad wedges had somehow become wedged between the rotating disc and the edge of the unit, locking the rotating disc. Easy enough, I just turned it over and reinserted into the unit. Problem solved.

Then after a day or two I noticed a repetitive knocking noise coming through the ventilator ducts. It wasn’t noticeable at first but became loud enough that we turned it off at night so we could sleep.

I called our installer and they determined that the culprit was a small belt that connects the motor to the disc. When the filter became wedged in the unit, it stopped the disc from turning and the motor chewed up the belt. It still worked, but it now created that knocking noise.

UltimateAir was very helpful and since we’re still under warrantee they shipped us a new belt and new filter wedges. Everything fixed. Happy homeowner.

Until 6 days later, the disc froze up again. Same issue. Once agin I called UltimateAir. Once again they were very helpful. They admitted that they had a bad shipment of filter pads fabric. It appeared to be causing other people problems as well. The pad was expanding and delaminating causing the rotating disc to luck up and burn out the belt.

So they said they would ship us new pads when they had corrected the problem. The new pads and a new belt arrived within a week. Everything fixed. Happy homeowner again.

Until the repair bill arrived. Over $300 in labor. Apparently labor is not covered under the warrantee.

We’re keeping our fingers crossed this is the last of the problem. The weather has been so temperate lately that we have the windows open and the ventilator off most of the month. Most likely we won’t find out if the problem has been fixed until we start using the ventilator full time again in the winter.

I’m hoping we can get UltimateAir to cover the $320 labor to fix the defective pads.

ERV install complete

Today Dee’s Electric completed the install of our Energy Recovery Ventilator (ERV). They installed two boost timer switches, one in the kitchen and one in the bathroom. This allows us to run the ventilator on high for a set period of time, while showering or cooking. There’s also a main dial switch that controls the speed of the fan, ranging from off to high.

Part of the commissioning process involves adjusting the airflow at each register to ensure the proper amount of air is being supplied and removed from each space. This also balances the system to ensure the same amount of air is introduced and removed from the house, so there is no pressurization or depressurization of the house.

They did this by first measuring the actual airflow at each register, then comparing that with the required airflow at that register. The required airflow at each register was determined by our energy consultants. The measuring is a bit like the blower door test, except the fan is the ventilator itself. The device measures airflow at the register in cubic feet per minute (CFM).

Since each register is a different distance from the ventilator with a different number of turns and elbows, it requires a little math and a few iterations of adjustments to get everything working as designed. Each vent outlet has an adjustable mechanism to control the amount of air flowing through that register.

After all was complete I ran the ventilator at different speeds and walked around the house to see what the noise levels were like. I could feel no vibration from the unit at all in the house. When the unit was running on the low setting I could barely hear the air movement. The air movement was very noticeable running on high, like in a house with a central air conditioned system. Medium speed was somewhere in between.

In practice, we will be running the unit continuously on low whenever the windows and doors are closed, and on high only for short periods of time when we’re cooking or showering.

That completes the installation of our mechanical systems. Next is finishing the electrical and plumbing. Tomorrow we’re taking a trip down to Ikea to buy our kitchen. And if the humidity in the house levels off tomorrow, we may get to start installing the wood floor this weekend.

ERV installed

Our HVAC contractor was busy at the site two weeks ago. He completed the install of the ERV unit in the basement. I hope he enjoyed the challenge. It was a tight space, but in the end everything fit fine.

The only casualty is our pantry area. We lost another few square feet to ducts. This is because we originally planned to run the exterior vents through the rim joist area, but later decided to move them up 4 feet from ground level to avoid snow accumulation issues in the winter. Moving them up higher meant penetrating the first floor space above the unit in the basement.

The unit is hung from the floor trusses above and flexible ducts connect the unit to the metal ducts in order to dampen the vibration from the unit. The unit itself is very quite, but we’re not moving to the country to listen to a ventilator.

The ducts to the exterior are insulated to R8. The pre-heat unit is installed close to the unit on the intake side. It is only used when the intake air is below 10 degrees F. It warms the incoming air just enough to prevent rotary lockout on the unit.

Click on the ventilation category on the right to learn more about how we chose this unit and why we’re using an ERV in the first place.

Mechanicals rough-in

Our mechanicals contractor started roughing in the duct work for the ventilation system last week. If you recall my earlier post, Mechanicals (ERV and ASHP), I tried to model all the ducting to anticipate the problem areas.

Our installer, Phil, has been installing ventilators and air-source heat pumps for quite some time, and he has brought a lot of experience to the table. This will be essential in some of the tricky spots. Out of the four areas I was originally worried about, only one has Phil mildly stumped; connecting the outside air ducts to the ERV.

Determining how to orient and position the ERV in the basement in order to minimize the number of twists and turns is a real challenge. I don’t think we’ll actually know the final configuration until the unit arrives in a few weeks.

I’ve also been a bit concerned about the number of T connections that Phil has been using. My research has led me to believe that these should be Y connections. T connections impede the flow of air. Phil assures me that this is not an issue considering the relatively low air pressure in the system. I remain skeptical, but relented as long as the required air flow at each register can be achieved.

Lessons learned: I should have located the ventilator somewhere on the first or second floors instead of the basement. This would have greatly simplified connecting to the outdoors, although it would have brought the unit closer to the living spaces and potentially caused a noise or vibration problem.

I also should have moved a few walls so that they did not sit directly on top of a truss. Trusses are wider (3.5″) than normal joists (1.5″). This makes it extremely difficult to get vents and plumbing stacks up through these walls without some gymnastics.

I’ll add more details when the ERV unit arrives onsite.

First panels arrived today!

Despite the weather forecast, it was a beautiful day and the solar guys were able to finish installing the clips and rails and get everything wired up. If it’s clear tomorrow we will finally see the first panels on our roof!

I also met with the HVAC guys from Dee’s Electric today. We walked through the ventilation ducting plan. They are scheduled to start roughing in the ventilation ducts next week.

Mechanicals (ASHP & ERV)

Click image for 3 page PDF (80k)

With little going on at the house due to the weather, I’ve spent some time considering the systems and ducting required for the house. I put together an updated set of plans and specifications to start talking to a few heating contractors.

Click image for 4 page PDF (1Mb)

Our energy consultants recommended a mini-split air source heat pump and two approaches to selecting a model. We could either go with a model that is less efficient at lower temperatures and supplement the heat with electric resistance when temperatures fall below 5 degrees. Or go with a larger unit that will meet all our heating needs at lower temperatures but is less efficient overall. I am inclined to go with the smaller more efficient unit that will meet our needs for the bulk of the heating season.

I only wish the makers of the mini-split units would hire a real designer. Their units are u-g-l-y. I’ve tried to minimize the visual impact of the indoor unit, but it’s still a big plastic box on the wall. Thankfully the mini-split units only require a small refrigerant line connecting the indoor and outdoor units and no ducting.

We also discussed the ERV versus HRV question with the energy guys. It was actually quite easy. From everything I’ve read, the most important factor is low energy use and efficiency, not which type of system. Right now that still seems to be the UltimateAir RecoupAerator ERV. In our cold climate it will nice to recover some humidity in the winter. The unit will be off and the windows open for most of the summer.

But ventilation requires ducting. This was the main reason we decided to use open-web trusses, to make it easier to install all the ducting inside the conditioned envelope. It has also been a challenge to keep all the ducts out of exterior walls.

I attempted to model the ducting as realistically as I could (see 2nd PDF above), taking into account the location of walls, floors, web trusses and plumbing. I have not found many good resources online for designing duct runs, nor have I found a good online catalog of various types and sizes of ducts for small residential ventilation systems.

I’m sure any mechanical contractor eye’s would glaze over looking at these models, but it was a good exercise for me. I’m now armed with lots of questions when interviewing heating contractors, and it will be interesting to see if I’m even close.

There are a few difficult areas: 1. ) Getting the unit in the basement vented to the outdoors without a lot of 90 degree bends. 2.) One of the bathroom walls is located above a truss making it difficult to get ducts into the wall. 3.) A return duct for one of the bedrooms must either cross over a supply duct or go up and over the stair in a chase that is still inside the air barrier. 4.) About the time I started wrapping this up into a post, I read that it will soon be required to place the in/out-take vents at least 4 feet above grade. (See The Energy Star Homes Program Raises the Bar with Version 3, by Martin Holladay at GreenBuildingAdvisor.com) It’s a good idea considering the amount of snow we’ve received this year.

I will revise the drawings after we choose a heating and ventilation contractor.


Enter your email address to subscribe to this blog and receive notifications of new posts by email.

Join 305 other subscribers